Thursday, 5 June 2014

Tow-piece moulds

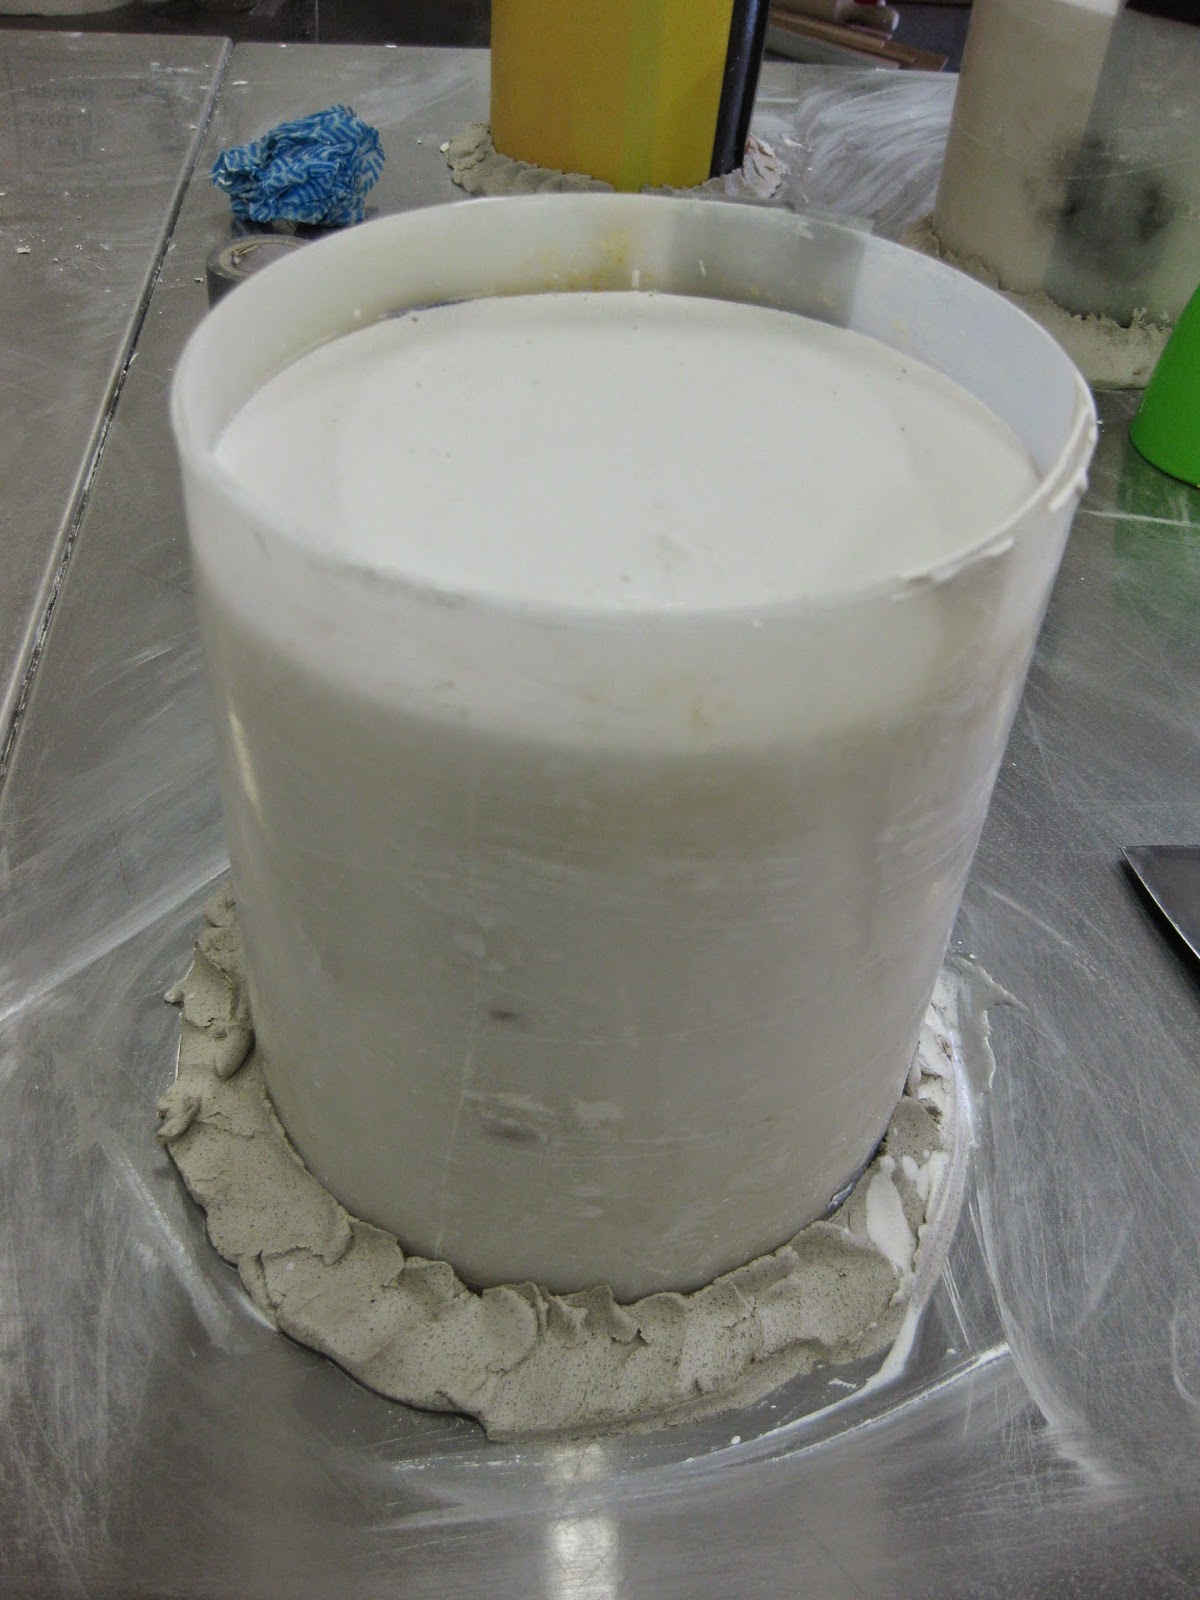
Another marathon day in the Plaster Room with a few challenging moments.  I chose an aubergine (more lyrical than eggplant, surely).  A two-piece mould is needed when the model has undercuts and will not drop easily from the mould.  Two halves are constructed from plaster - with an entry point in which to pour the slip - and banded together to form the whole shape.

The aubergine was a little tricky and my cottles weren't completely secured so that when I poured the plaster in, I had a flood of plaster running off the table onto the floor.  With helping hands, disaster was averted and the second part of the mould was poured.  Fingers crossed it all works out tomorrow when I take the cottles off the mould.

I'm already thinking of ways to alter the shape when I slip cast from this mould or I could make multiples of the same shape and make a still life.  How do I support my aubergines....?  Will I leave them uncoloured and unglazed or use a water-colour effect with under-glazes.
  
More questions than answers at this stage.


A head for figures

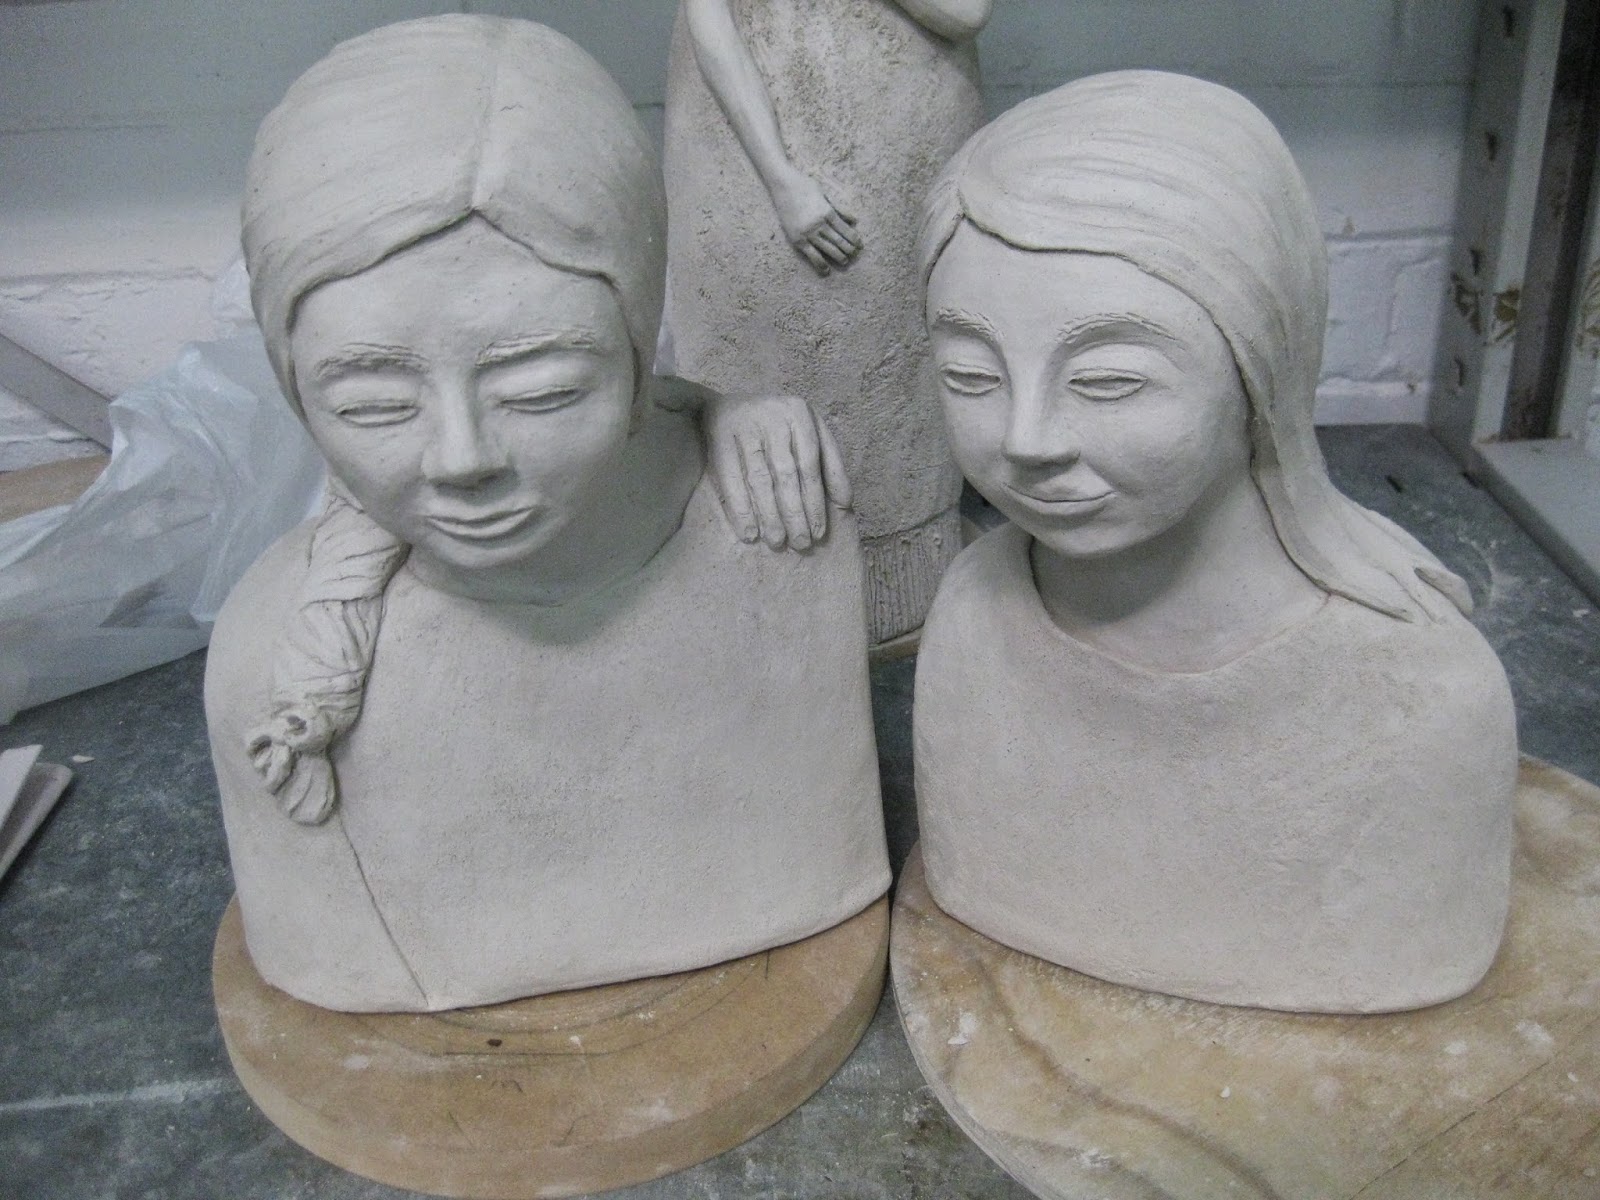
It was so good to get back to hand-building after a few weeks in the Glaze Room doing slip work.  I took advantage of my 'fruit bowl' press-mould to make the shoulders for my newest bust. The neck was formed by wrapping a slab around a plastic beaker and the base of the head was made from a small spherical slip-casting mould.

This sculpture is a quick study as it lacks fine definition.  I plan to make several and experiment with distortion and finishing techniques.  It feels good to be working again with 
terracotta.  A bit like coming home, but hopefully with fresh ideas and a working plan towards an ever-evolving project.


Tuesday, 27 May 2014

Slip Casting

I was anxious to try a bit of slip casting in the drop moulds we made last week.  Sadly, the moulds were not completely dry as I found out when I poured the slip into one of them.  It took far too long to set and the results weren't pretty.  Undeterred, I found some small moulds on a shelf in the studio and tried my hand at pouring two vessels which I joined and decorated with some coloured slip work.  Perhaps I've found my calling in designing.....

Slip work just out of the moulds
Finished work
...bathroom sinks! 

Friday, 16 May 2014

Drop Mould

Another day in the Plaster Studio making a one-piece or drop mould for slip-casting.  The first step was covering my models  - pink plastic drinking cup and a glass - with mould-grease.  I filled the plastic cup with wet clay and placed it upside down on the bench and put the cottles in place with a coil of clay on the outside to prevent leakage.  For the glass, I placed it on a clay slab and pressed into the clay before pushing the cottles into the clay.   I then made up a bucket of plaster and poured around and over my models.  When the plaster was set, a shot of air released the model from the mould.

I am set for slip casting next week.  How will I decorate the surface?  I have some research to do before then.
Waiting for the plaster to set in formwork

Wednesday, 14 May 2014

Slip - Slab - Cracks

Oh dear, cracks have appeared in my slip slab forms, on the base.  I have made new forms today and have taken steps to avoid previous mistakes, such as :  drying on newspaper, thinner bases, scoring and slipping and covering with plastic wrap as the forms dry.  I will find out tomorrow if my efforts are successful.

Today we also made up another 25 kg of clay into slip for yet more slab work and future slip-casting.  I now have a design in mind and a plan for production.

Friday, 9 May 2014

Two sisters reading

My Two Sisters Reading figures are finished and drying.  When they are bisque-fired, I will apply oxides and under glazes.  I was not satisfied with the larger form, as pictured in a previous post.  I made alterations to the position of the head so the figure looks downward as if reading, the disembodied hand belonging to the other younger sister sharing the moment.


Slip Cast Slabwork

This week I've been working in the Glazing Studio making forms from slip-cast slabs.  Wednesday and Thursday were full of frustrations but by Friday, some of my forms were behaving and I felt more confident with the process.

The work began with making the slip from casting powder.  This was a messy and dusty process whereby 25 kg of casting powder was added to water in a large plastic bin.  This was mixed with an industrial size 'stick blender', then sieved.  We added black, blue and yellow to three separate containers.  Previously we had poured our plaster slabs in readiness for this work.  

We made patterns on the plaster slab by painting, slip trailing, dripping, sponging, etc. with the coloured slips.   The un-coloured slip was poured over this to form a slab.  The slabs took approximately 30 minutes to set.  They could then be peeled back and flipped over to reveal the pattern, much like flipping a crepe.  The slab is now ready for formwork.  After much experimentation, I found cutting simple curves or squarish shapes worked best.  By joining curves, squares or rectangles, it was possible to make a vessel into which wet slip was poured to form the base.  Timing is everything.  Too dry, the slab would crack and too wet, it would not support itself.

In the photo, you can see my forms with poured bases drying on the plaster slab.